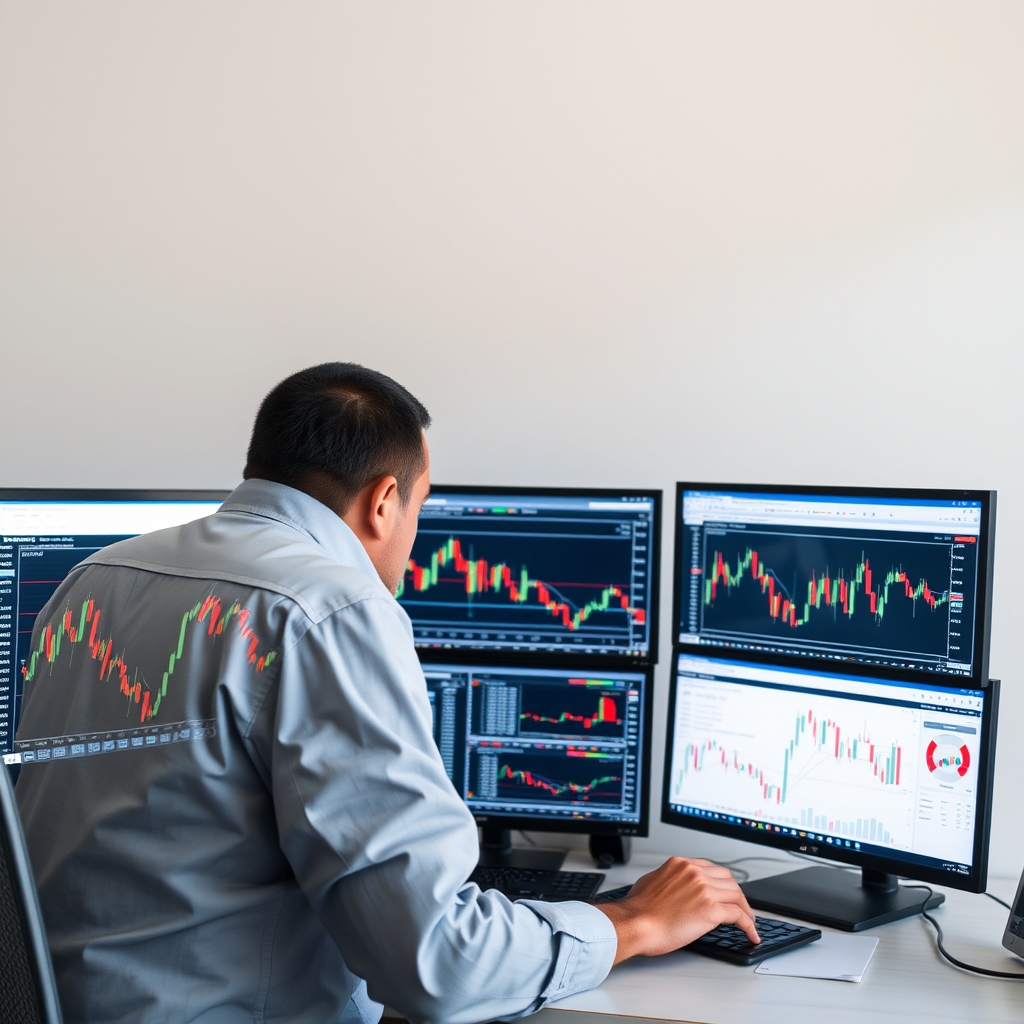
Scalping rules are mostly about one thing: making sure the distance to your stop, the distance to your target, and the cost of trading all make sense together. Indicators only help you decide where to enter. They don't make a setup work. This guide covers practical entry and exit structures, how to place stops and targets, and where each approach breaks down. Nothing here is a promise of results, and scalping is difficult for most people who try it. For the wider context, see Scalping Indicators & Short-Term Strategies.
Start With the Cost Check
Before any setup, measure your costs. If your spread plus commission is 1 pip and your target is 4 pips, a quarter of the target goes to costs before price moves at all. Slippage during fast moves makes it worse. Work through Spreads, Commissions and Slippage: What Scalping Really Costs and use your own broker's figures, which you should confirm in your platform rather than assume.
A useful filter: skip any trade where the round-trip cost is more than roughly 20-25% of the target. That threshold is a rule of thumb, not a law, but it keeps you from trading setups that can't pay for themselves.
Three Indicator-Based Setups
1. Trend Pullback to a Moving Average
Context: Price is trending, and a 20 EMA sits clearly above or below a 50 EMA with visible slope.
- Identify direction from the EMA order and slope. If they're flat and tangled, stand aside.
- Wait for price to pull back to the 20 EMA (or the zone between the 20 and 50).
- Enter when a candle closes back in the trend direction, not while price is still falling through the average.
- Stop: beyond the pullback swing low or high, plus a small buffer for spread.
- Target: the prior swing extreme, or a multiple of your risk.
Tradeoff: It works best in orderly trends and gets chopped up in ranges. The averages lag, so the entry is never at the best price.
2. Range Fade with RSI or Stochastic
Context: Price has bounced between clear levels several times and the moving averages are flat.
- Mark the range boundaries first. The indicator is secondary.
- Look for an oscillator reading at an extreme (for example RSI below 30 near support) and a rejection candle at the boundary.
- Stop just outside the range edge.
- Target the middle of the range first, with the opposite edge as a stretch goal.
Tradeoff: Oscillators can stay "oversold" for a long time in a real breakout. If the range breaks, take the stop and don't average down.
3. Bollinger Band Squeeze Breakout
Context: Bands have narrowed noticeably relative to recent history, often before a session open.
- Wait for a candle to close outside the band with above-average range.
- Enter on the close or on a small retest of the broken level.
- Stop: back inside the squeeze, often near the middle band.
- Target: a multiple of the squeeze height, or trail behind the middle band.
Tradeoff: False breakouts are common, and spreads widen right when these moves start. Expect a lower win rate and rely on larger winners than losers.
Placing Stops
- Structure first: Put the stop where the idea is proven wrong, such as beyond a swing point, not at an arbitrary pip count.
- Volatility-aware: An ATR-based stop (for example 1 to 1.5 times ATR) adapts to current conditions. Test multiples on a demo account before trusting any.
- Size to the stop: Decide the amount you'll risk per trade, then set position size from the stop distance. Never shrink the stop to fit a bigger position.
Setting Targets and Exits
- Fixed target: Simple and measurable, which makes it easy to review your results.
- Nearest opposing level: Exit before obvious resistance or support, not through it.
- Partial and trail: Take part of the position at your first target, then move the stop to breakeven on the rest. This reduces the stress of giving back a winner, though it can cap your best trades.
- Time stop: If a scalp hasn't moved within a set number of candles, close it. Stalled trades tend to drift toward your stop.
 Recommended for youBuy/Sell Arrow Indicators for Scalping: Do They Work and Which Are Worth Paying For?
Quick Comparison
| Setup | Best Market | Typical Weakness |
|---|---|---|
| EMA pullback | Steady trend | Whipsaws in ranges |
| Range fade | Clear sideways range | Breakouts run over the stop |
| Squeeze breakout | Low volatility before a catalyst | False breaks, wider spreads |
Filters That Matter More Than the Indicator
- Time of day: Liquidity and spreads vary by session. See the best hours of the day to scalp forex.
- Timeframe: Noise and cost drag differ on each chart. Compare them in 1-minute, 5-minute or 15-minute.
- News: Avoid scheduled high-impact releases unless you have a specific plan for them.
About Arrow Indicators
Many traders are tempted to replace all of the above with buy/sell arrows. Arrows are usually just packaged versions of crossovers or oscillator rules, and they repaint in some cases, which makes past results look better than live ones. If you're considering one, read Buy/Sell Arrow Indicators for Scalping: Do They Work and Which Are Worth Paying For? and confirm current pricing and features on the vendor's official site. Whatever you choose, test it on a demo account across different market conditions first.
Test Before You Risk Money
- Write your rules for entry, stop, target and filters in a single paragraph.
- Log at least a few dozen demo trades, including costs.
- Review by session and by market condition, not just total results.
- Only then consider small live size, and expect live fills to be worse than demo.
Small accounts face extra limits on position sizing and cost drag, covered in Can you scalp forex with a small account?. For a sober view of the odds, read Is Forex Scalping Profitable? Realistic Limits and Who It Suits.
This is educational content, not financial advice. Leveraged trading can lose more than expected, so consider speaking with a licensed professional if you're unsure whether it suits your situation.
Keep reading
 Spreads, Commissions and Slippage: What Scalping Really CostsScalping looks cheap on a chart. A 5-pip target feels small and quick. But every trade carries a fi…
 Is Forex Scalping Profitable? Realistic Limits and Who It SuitsShort answer: it can be, for some people, but it is harder than most marketing suggests. Scalping m…
 What is the best timeframe for forex scalping: 1-minute, 5-minute or 15-minute?For most traders, the 5-minute chart is the best starting point for scalping. It filters out much o…